
How to Draw Eiffel Tower Drawing
Eiffel Tower Drawing
Implicit 1887, the Eiffel Pinnacle is a created iron grid tower in Paris, France. As of recently, it is perhaps one of the most well-known milestones on the planet. Eiffel Tower Drawing & chef hat drawing or other drawing ideas for every drawing lover.
How about we just let it out — we are generally dreaming of seeing the Eiffel Pinnacle very close one day. Meanwhile, while we’re trusting that that day will come, why not draw an Eiffel Pinnacle and show the work of art inside your home?
We have made a bit-by-bit instructional exercise on the most proficient method to draw an Eiffel Pinnacle. These means are straightforward to follow. It doesn’t make any difference if you’re a fledgling or a specialist in drawing.
Every complete guidance accompanies point-by-point delineation. So whether you learn best through words or pictures, you can draw an Eiffel Pinnacle with this instructional exercise!
The best time part about this instructional exercise is that you can alter the drawing however much you like! You might utilize a unique arrangement of varieties to make the Eiffel Pinnacle look more lively and brilliant.
Let your creative mind roam free and release your internal innovativeness! This comprehensive drawing instructional exercise makes the entrancing Eiffel Pinnacle readily available!
Stage 1 – Eiffel tower drawing
Beginning the center of your paper, attract three limited rectangular shapes of various sizes to frame the three foundations of the Eiffel Pinnacle.
The square shape at the top ought to be the littlest, while the one at the base ought to be the greatest.
Ensure that the Eiffel Pinnacle will be attracted to the middle by drawing a crossing flat and vertical line across your paper to make reference lines.
Your paper’s upward line is where you should draw each of the three stages.
Stage 2 – Build the Main Level of the Pinnacle
Make a corner-to-corner leg on the two sides under the principal stage by drawing a couple of equal inclining lines with a flat line at the base.
This leg is the establishment that upholds the whole weight of the Eiffel Pinnacle.
Stage 3 – Continue toward the Pinnacle’s Subsequent Level
Define two equal askew boundaries in the middle of the first and the second stage to make the pinnacle’s legs on the subsequent level.
Stage 4 – Complete the Construction of the Eiffel Pinnacle
Finish the type of the Eiffel Pinnacle by drawing by organizing the highest level of the Eiffel Pinnacle. Basically, define equal vertical boundaries that are marginally bent at the base.
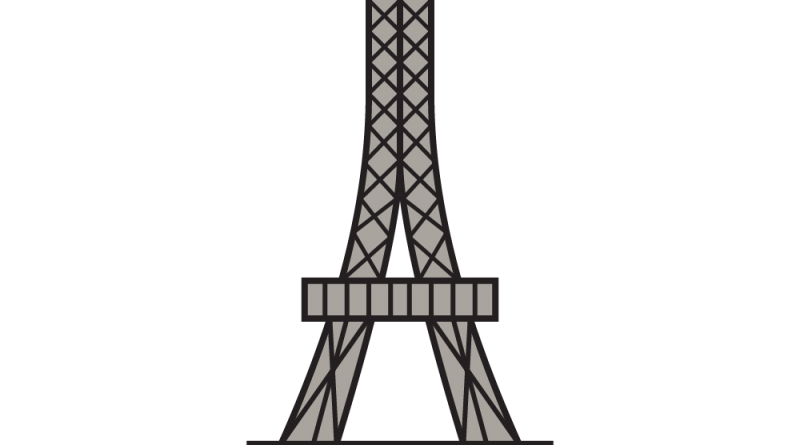
Ensure that the leg in each level is impeccably lined up with one another to structure the Eiffel Pinnacle relatively. When drawn accurately, the legs should frame the capital letter “A,” as displayed in the outline.
Stage 5 – Draw the Sharp Figure at the Extremely Top
Draw a crescent with a short upward line above at the top of the Eiffel Pinnacle.
This makes the unmistakable figure arranged at the highest piece of the Eiffel Pinnacle.
Stage 6 – Add the Principal Level’s Confuse Iron Shafts
Add befuddle designs inside each base leg.
The bungle examples can be made by just defining numerous converging slanting boundaries.
Stage 7 – Next, Add Subtleties on the Subsequent Level
As may be obvious, the subtleties on the subsequent level are unique to the subtleties on the main level of the Eiffel Pinnacle.
However, no problem. Making this example is pretty much as simple as 1-2-3! It is just a blend of an upward line and meeting inclining lines.
Begin by defining an upward boundary inside every leg in the subsequent level. Subsequently, define converging slanting boundaries over the upward line. Also, that’s it!
Stage 8 – Presently, Add Subtleties on the Highest Level
The subtleties on the highest level are indistinguishable from the ones at the base. Define numerous crossing corner-to-corner boundaries shaping a letter “X” down the length of every leg at the top.
After completing this step, the subtleties on the legs in every one of the three levels of the Eiffel Pinnacle ought not to be finished.
Stage 9 – Subsequently, Add Subtleties to the Stages
Since we’ve previously wrapped up making the examples of the pinnacle’s legs, in this step, we will currently work on the examples on the level stages.
Define different equal vertical boundaries inside every one of the stages. Continue to rehash this step until each stage has a comparable example.
Since we have effectively drawn a skyscraper, Eiffel Pinnacle, it’s the ideal opportunity for the most enjoyable part: picking the tones and shading your drawing!
Since the Eiffel Pinnacle is made of iron, its normal earthy-colored tone has changed throughout the long term. It began as ruddy brown and later went to yellow-brown.
You can select a variety of the Eiffel Pinnacle precisely for all intents and purposes or pick your remarkable arrangement of varieties. We certainly prescribe doing the last option to make the most out of your experience.


