How to Make Pants Waist Smaller: A Step-by-Step Guide
When you find the perfect pair of pants but they’re just a little too loose around the waist, don’t despair. You don’t have to retire them to the back of your closet or spend a fortune on alterations. With a bit of time and effort, you can make your pants waist smaller and achieve a comfortable, customized fit. In this step-by-step guide, we’ll show you how to do just that.
Gather Your Supplies
Before you start resizing your pants, gather the necessary supplies:
- The Pants: The pair of pants you want to alter.
- Measuring Tape: For accurate measurements.
- Chalk or Tailor’s Pen: To mark your alterations.
- Needle and Thread: Choose a thread color that matches your pants.
- Scissors: To trim excess fabric.
- Sewing Pins: To hold fabric in place while you work.
- Seam Ripper (optional): Useful for undoing previous stitches if needed.
Take Measurements
- Put on the Pants: Wear the pants to assess the fit and determine how much smaller you want the waist to be.
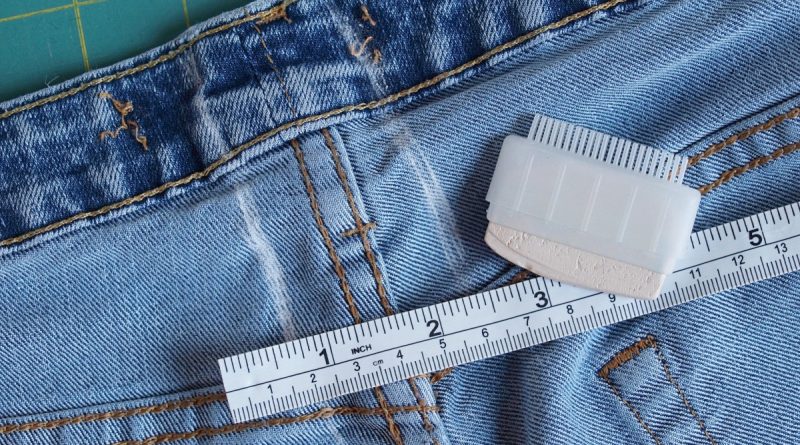
- Mark the Desired Waist Size: Use the measuring tape to measure the waistline where you want it to be. Mark this point with chalk or a tailor’s pen.
Pin and Tuck
- Turn the Pants Inside Out: This will allow you to work on the inside of the waistband.
- Pinch and Tuck: Start at the side seams and pinch excess fabric in the waistband. Use sewing pins to hold the tucks in place.
- Distribute Tucks Evenly: Make sure the tucks are distributed evenly around the waistband. You may need to create multiple tucks on each side to achieve the desired waist size.
Sew the Tucks
- Thread the Needle: Thread your needle with a thread color that matches your pants.
- Start Sewing: Begin at one end of the waistband and sew along the tucks you created. Use a straight stitch, and be sure to secure the thread with a knot at the beginning.
- Continue Sewing: Sew along the tucks until you reach the end of the waistband. Make another knot to secure the thread at the end.
Trim Excess Fabric
- Cut Off Excess Fabric: Once you’ve sewn along the tucks, use your scissors to carefully trim the excess fabric. Leave a small seam allowance to prevent fraying.
Try On and Adjust
- Turn the Pants Right Side Out: Put the pants back on and check the fit. Make any necessary adjustments by adding or removing tucks.
- Reinforce the Tucks: If you’re satisfied with the fit, reinforce the tucks by sewing over them again.
Finishing Touches
- Trim Excess Thread: Trim any loose threads to give your alterations a polished look.
- Press the Waistband: Use an iron to press the waistband and flatten the tucks, ensuring a neat appearance.
Now, you’ve successfully made your pants waist smaller, creating a customized fit that’s both comfortable and stylish. Whether you’re dealing with a favorite pair of jeans or dress pants, these steps can help you achieve the perfect fit without the need for professional alterations. So, roll up your sleeves, grab your sewing kit, and make those pants your own!